Views: 0 Author: Site Editor Publish Time: 2026-07-30 Origin: Site

The operational lifespan and thermal efficiency of a sauna heater are dictated not just by its kilowatt rating, but by the precise mechanical arrangement of its thermal mass—the sauna stones. Incorrect stone placement is the leading cause of premature heating element failure, tripped high-limit thermal switches, and poor steam generation. Wedging stones too tightly restricts convective airflow, while packing them too loosely fails to capture and radiate adequate heat into the room.
This guide breaks down the technical framework for arranging stones in standard and high-capacity units. You will learn how to balance optimal air circulation with absolute protection of the internal heating elements. By mastering these mechanical principles, you can maximize heat output, ensure rapid heat-up times, and significantly extend the hardware life of your equipment.
Prioritize Airflow Over Density: Stones must be stacked loosely enough to allow cold air to enter the bottom of the heater, pass over the elements, and exit as hot air at the top.
Zero Mechanical Stress on Elements: Stones must touch the heating elements to transfer heat but must never be wedged, forced, or allowed to bend the metal coils.
Strategic Stratification: Optimal stacking requires grading stones by size—large, upright stones at the base, medium stones loosely surrounding the elements, and flat stones acting as a water-dispersion table at the top.
Mandatory Settling Maintenance: Thermal cycling causes stones to shift and settle, particularly within the first two months of operation, requiring periodic repacking to prevent element exposure or compression.
Defining what a successful stone arrangement achieves requires understanding both thermodynamics and hardware longevity. A properly loaded unit functions as an efficient heat exchanger. The heating elements generate intense thermal energy, which must be rapidly transferred to the surrounding stones and the circulating air. If this transfer is interrupted, the system fails.
The core mechanism of any traditional sauna is the convective loop. Heating elements warm the air immediately surrounding them. This hot air rises, exiting the top of the rock basket, which creates a vacuum that draws cooler air from the floor into the bottom of the unit. This continuous cycle heats the room evenly.
There is a strict trade-off between thermal mass and airflow. Packing too many stones into the basket chokes the convective airflow. When air cannot escape, the internal temperature of the chassis spikes, causing the unit to overheat and trip internal high-limit safety sensors. Conversely, using too few stones results in harsh, dry heat. Without sufficient thermal mass, water poured over the top will simply fall through the basket and pool at the base rather than vaporizing into steam.
| Airflow Condition | Stone Density | System Impact | Room Experience |
|---|---|---|---|
| Restricted | Too High (Over-packed) | Chassis overheats, high-limit switch trips, elements degrade. | Slow heat-up times, weak steam generation. |
| Optimal | Balanced (Loose fit) | Efficient heat transfer, normal element expansion. | Rapid heating, thick and immediate steam. |
| Excessive | Too Low (Under-packed) | Elements exposed to direct water shock. | Harsh radiant heat, water pools on the floor. |
Heating elements are typically manufactured from stainless steel or Incoloy alloys. These metals expand significantly as they heat up and contract as they cool down. This constant thermal cycling requires physical clearance.
If stones are wedged tightly between the coils, they restrict this natural micro-expansion. The mechanical stress forces the metal to warp, bend, or eventually fracture. Structural failure of the elements is almost always traced back to improper, overly dense rock placement that restricted natural expansion.
Assessing stone quality before installation ensures they meet the extreme operational demands of the equipment. Not all rocks are capable of withstanding rapid temperature fluctuations and direct water contact.
Standard river rocks or porous stones are dangerous in a sauna environment. Porous rocks absorb moisture. When subjected to rapid heating, trapped water turns to steam, creating internal pressure that can cause the rock to explode, sending dangerous shrapnel into the room. You must use dense, specialized stones such as vulcanite, olivine diabase, or peridotite. These geological variants offer high thermal retention and can endure decades of aggressive thermal shock.
Choosing stones with smooth surfaces is necessary to avoid scratching or causing abrasive friction against the heating elements during expansion cycles. Rough, jagged edges can scrape the protective outer layer of the metal coils, accelerating oxidation and premature failure.
Before loading the basket, categorize the supplied stones into three distinct piles based on size and shape. Proper stratification is the secret to perfect airflow.
Sort by Size: Separate the largest, heaviest stones for the base layer.
Identify Medium Stones: Group standard-sized, irregularly shaped stones for the middle section.
Select Flat Stones: Reserve smaller, flatter stones to build the top water-dispersion layer.
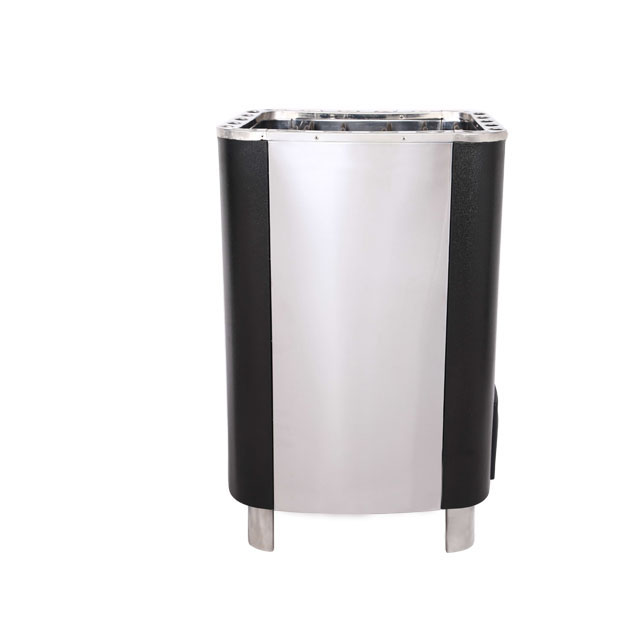
The standardized protocol for loading the rock basket is scalable from compact wall-mounted units to heavy-duty commercial models. Precision during this phase dictates the entire performance profile of the room.
Always wash new stones thoroughly prior to installation. Quarrying and shipping generate significant amounts of fine rock dust. If you skip this step, the dust will settle directly onto the heating elements. When the unit is turned on, this dust burns off, creating noxious odors and acting as a thermal insulator on the coils, which drastically reduces heat transfer efficiency.
Place the largest stones at the bottom of the basket. Orient them vertically to build height and create wide channels for incoming cold air. Ensure this base layer supports the weight of the upper stones entirely. The weight of the rock column must rest on the bottom grate, never on the heating elements themselves.
For narrow element chambers found in smaller wall-mounted units, standard large rocks often cannot naturally slide to the bottom without being forced. In these cases, select slender, hand-picked stones for these tight spaces. Never push a rock down if it encounters resistance.
Carefully drop medium stones between and around the elements. They should rest against the metal to facilitate heat transfer but must remain loose enough to allow air to pass. For wall-mounted units, utilize the outer stone wall technique. Build a vertical front barrier of flat, medium stones directly behind the outer grill. This prevents water from splashing straight through the grill onto the elements or the floor.
When loading an 8KW Dry Steam Sauna Heater, precision is paramount. These larger units utilize hotter, thicker elements requiring exact spacing to maximize steam vaporization without creating thermal bottlenecks. The increased rock capacity means you must be vigilant about maintaining vertical air channels all the way up through the middle section.
Arrange flat stones across the top, fully covering the elements from view. Create a relatively level surface that catches water. When water is ladled onto this top layer, it should vaporize instantly rather than dripping down through the basket to the cold floor. The top layer protects the elements from direct thermal shock when cold water is applied.
Identifying common user errors prevents voided warranties and destroyed hardware. Even the highest quality Sauna Heater will fail if loaded incorrectly.
The absolute rule of installation is against forcing a stone into a tight gap. If a rock requires pressure to fit, it is the wrong stone for that space. Wedged rocks will bend the elements outward as they heat up, leading to immediate structural failure and electrical shorts.
Symptoms of over-packing are easy to identify. The room will take excessively long to heat up, yet the exterior chassis of the unit will become dangerously hot. The high-limit switch will likely trip repeatedly. Symptoms of under-packing include exposed, glowing red elements, harsh radiant heat, and water falling straight through the rock basket without turning into steam.
Stones settle fastest in their first eight weeks of thermal cycling. As they expand and contract, they naturally shift downward, filling in gaps. Establish a baseline maintenance schedule to inspect the basket after the first two months. You will likely need to top-off the basket with a few extra stones as the pile settles, ensuring the elements remain fully covered.
Testing your stacking job confirms that airflow and thermal mass are perfectly balanced. Run the unit through a full cycle before regular use.
Benchmark the time it takes to reach target temperatures compared to the manufacturer specifications. A properly loaded unit should reach 175°F to 190°F within 45 to 60 minutes, depending on insulation and room size. If it takes significantly longer, your stones are likely packed too tightly.
Perform the water test once the room is at temperature. Pour a ladle of water directly over the top stones. It should produce an immediate, aggressive hiss and vaporize completely before reaching the bottom tray. If water leaks out the bottom, you need to rearrange the top layer to create a better dispersion surface.
Correct stone arrangement is a non-negotiable requirement for safety, efficiency, and hardware durability. It requires a precise balance of structural support and fluid dynamics. Follow these actionable steps to ensure peak performance:
Empty your current rock basket completely and inspect the heating elements for any signs of warping, bending, or white scaling.
Wash all stones thoroughly in a bucket of clean water to remove abrasive dust before placing them near the equipment.
Sort your stones into three distinct piles based on size to ensure proper stratification during the loading process.
Restack the stones using the graded, loose-fit methodology, ensuring zero mechanical pressure is applied to the metal coils.
Schedule a visual inspection for eight weeks post-installation to check for settling and add top stones as necessary.
A: Yes. The top layer of stones should completely obscure the heating elements to protect them from direct water shock and to ensure water vaporizes on the stones, not the bare metal.
A: Stones should be stacked loosely. You must leave enough negative space between the rocks to allow air to flow freely from the bottom of the heater up through the top.
A: Do not force large rocks down. Instead, hand-select smaller, narrower stones that can slide easily between the elements to the bottom without putting any mechanical pressure on the coils.
A: No. You must use dense, non-porous stones specifically quarried for saunas. Standard river rocks can trap moisture and explode under extreme thermal stress.
A: Elements typically bend because stones were wedged too tightly between them during installation, or because shifting stones applied mechanical pressure as the metal expanded and contracted during heating cycles.
A: For residential use, stones should be inspected annually and replaced every 2 to 3 years. Cracking, crumbling, or a noticeable drop in heat efficiency are primary indicators that the stones have degraded.
A: If heat-up times increase significantly after restacking, the stones are likely packed too densely, choking the convective airflow and trapping heat inside the heater chassis.


