Views: 0 Author: Site Editor Publish Time: 2026-08-01 Origin: Site

A subpar sauna session is frustrating, especially when the room fails to reach optimal temperatures despite standard operation times. Waiting over an hour only to sit in lukewarm air signals a deeper mechanical issue. Beyond the disappointment of a weak sweat session, running compromised equipment introduces hidden electrical and safety risks. Facility managers and homeowners often struggle to diagnose the root cause of poor heat output. Differentiating between minor maintenance issues, like compacted sauna rocks, and terminal hardware failure, such as degraded heating elements, requires a systematic approach. Understanding these distinctions prevents unnecessary part purchases and mitigates fire hazards. This guide provides a technical diagnostic approach to evaluate element health. You will learn to identify failure signs, assess safety risks, and make a financially sound choice between replacing individual components or upgrading the entire unit to a reliable Sauna Heater.
Performance Drops Precede Visual Damage: Extended heat-up times and failure to reach maximum temperature limits are the earliest indicators of element fatigue.
Visual and Electrical Red Flags: Surface cracking, blistering, localized corrosion, terminal pin oxidation, and frequent breaker trips require immediate operational cessation to prevent electrical fires.
The "Replace All" Principle: When one element fails, the resulting electrical imbalance typically accelerates the failure of the remaining elements; replacing the entire set is the industry standard.
The Repair vs. Replace Threshold: If a unit is over 8–10 years old and requires a full set of replacement elements, upgrading to a modern, corrosion-resistant unit (like a 6KW stainless steel sauna heater) often yields a better return on investment.
Standard heat-up expectations typically range from 45 to 60 minutes to reach 160°F–190°F, depending on room volume and insulation quality. If your sauna consistently takes longer than this baseline, the elements are likely degrading. Over time, physical stress increases electrical resistance within the heating coils. This increased resistance reduces wattage output, directly extending the time required to heat the space effectively. We see this constantly in field diagnostics where older units take two hours to reach baseline temperatures.
A multi-element unit relies on the combined output of all its coils. If one out of three elements burns out, the unit will still produce heat but will mathematically cap out before reaching target temperatures. Before condemning the elements, rule out faulty thermostats, high-limit switch trips, or drafty ventilation. If the room is sealed and the controls function correctly, a dead element is the probable cause. You must verify the contactors are pulling in completely before tearing into the rock tray.
Uneven heating creates distinct cold spots within the cabin, altering the sensory experience. You can safely perform a visual check during operation to identify a dead element. Look for the uniform dull red glow of all elements behind the rocks. An element that remains dark while the others glow is no longer functioning. This visual inspection saves hours of unnecessary multimeter testing.
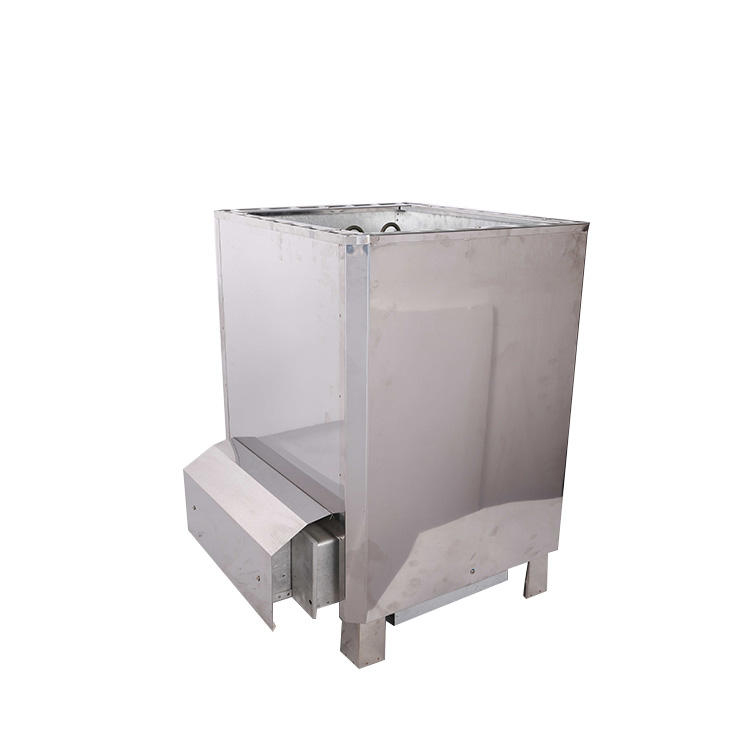
Continuous thermal cycling takes a physical toll on metal components. Thermal shock often occurs when users dump excessive cold water directly onto exposed elements rather than the rocks. This sudden temperature change causes the metal casing to blister, split, or snap entirely. Inspect the elements for structural integrity during routine maintenance. A split sheath exposes the internal nichrome wire, creating an immediate short circuit risk.
Normal heat discoloration, such as bluing or browning, is expected on heating elements. Destructive corrosion presents as flaking, rusting, or white mineral buildup. Poor water quality, including hard water or high chloride content, accelerates the degradation of the element's outer sheath. If the metal is actively flaking away, replacement is necessary. We recommend checking the water source if elements fail prematurely.
The electrical terminal pins located at the base of the heater are highly vulnerable. Humidity and water often bypass the rock chamber, causing corrosion on these terminal connections. This leads to high electrical resistance, localized overheating, and the eventual melting of wiring connections. Inspect the base panel periodically for signs of moisture damage. Corroded terminals will eventually burn off the wire leads.
Rock density directly impacts element health. Tightly packed rocks restrict airflow, trapping heat and causing elements to overheat and warp. During routine rock replacement, inspect the element structure to spot premature warping. Ensure rocks are placed loosely enough to allow proper air circulation while completely covering the heating coils. Proper rock placement extends element life by years.
| Symptom | Visual Indicator | Action Required |
|---|---|---|
| Thermal Shock | Blistered or split metal sheath | Immediate replacement |
| Galvanic Corrosion | Heavy white scaling or rust flakes | Check water quality, replace element |
| Airflow Restriction | Warped or bent heating coils | Repack rocks loosely, monitor element |
| Terminal Failure | Melted wire insulation at base | Replace element and damaged wiring |
When the outer sheath of an element cracks, the internal heating wire can touch the casing, creating a direct short to ground. A tripping breaker is a critical safety mechanism functioning correctly to prevent electrical fires. The unit must not be reset repeatedly without diagnostic testing. If the breaker trips immediately upon powering the heater, shut off the main power and investigate the element sheaths for splits.
A new heater naturally produces a smell as manufacturing oils burn off during the first few uses. An acrid, metallic, or ozone-like smell indicates an electrical short or melting element casing. If you detect burning plastic or ozone, disconnect power immediately and inspect the wiring and element sheaths. Melted terminal blocks often produce a distinct fishy or burning plastic odor.
Electricians test elements using a multimeter to confirm failure. Checking for continuity verifies if the circuit is broken. Measuring Ohms ensures the resistance matches the manufacturer's specified rating. A reading of zero or infinity indicates a failed element. Always ensure power is completely disconnected before performing multimeter tests. Testing across the element terminals provides a definitive pass or fail result.
Analyze the financial trade-offs before purchasing parts. Compare the cost of a full set of OEM elements plus professional installation labor against the depreciated value of the current heater. Residential units typically last 8–15 years. If the unit is approaching the end of this lifespan, investing heavily in replacement parts is rarely economical. Factor in the condition of the contactors and timer mechanisms.
Replacing just one broken element is a common misconception. Mixing new, highly efficient elements with old, degraded ones causes current imbalances. This imbalance leads to the rapid burnout of the older elements. Replacing the entire set simultaneously ensures uniform heat output and extends the operational life of the repair. We never replace a single element on a commercial job.
A full upgrade should provide improved energy efficiency, better warranty coverage, and enhanced material durability. Transitioning to a 6KW Stainless Steel Sauna Heater mitigates the corrosion issues that likely killed the previous unit. Stainless steel construction offers superior resistance to thermal shock and moisture degradation. Upgrading often resolves underlying control issues simultaneously.
Verify that the main circuit breaker is off and locked out. Use a voltage tester to confirm zero power at the heater terminals.
Remove all sauna rocks carefully to inspect the physical interior. Remove the safety guard and outer shell casing.
Open the bottom access panel to expose the wire terminals and element mounting brackets.
Label wiring connections before disconnecting. Unbolt the mounting nuts and carefully slide the failed heating elements out.
Insert the new elements, ensuring they do not contact each other or the inner walls of the heater. Tighten mounting nuts to prevent water leaks.
Reconnect wiring to terminal pins. Reassemble the protective shell and repack the rocks loosely.
Using cheap, third-party aftermarket elements carries significant risks, including inaccurate wattage, poor sheath materials, and voided warranties. Original Equipment Manufacturer parts guarantee compatibility and safety. Investing in OEM elements ensures the heater operates within its designed thermal and electrical parameters. Aftermarket elements frequently fail within the first year of heavy use.
Strict compliance with local electrical codes is mandatory. Replacing elements often requires interacting with 220V/240V systems. Hiring a licensed electrician ensures proper torque on terminal connections. Loose connections cause arcing, localized overheating, and secondary failures within the junction box. Never compromise on electrical safety in a wet environment.
After replacing elements or installing a new unit, an initial burn-in process is required. Run the heater at maximum temperature for 45-60 minutes with the door open. This cures the elements and safely off-gasses manufacturing residues. Do not use the sauna during this initial burn-in phase. Verify all elements are glowing evenly before closing the room.
Disconnect power immediately at the main breaker if you suspect a faulty heating element or smell burning plastic.
Remove all rocks from the tray to perform a thorough visual inspection of the element sheaths for cracks or blistering.
Test the elements with a multimeter for continuity and proper resistance to confirm hardware failure.
Consult a licensed electrician to evaluate the condition of the wiring and contactors before ordering parts.
Compare the total repair quote against the cost of a new stainless steel unit to make a financially sound decision.
A: Sauna heater elements generally last 5 to 10 years. This lifespan depends heavily on usage frequency, water application habits, and proper rock placement.
A: Replacing all elements simultaneously is recommended to prevent electrical imbalances. Mixing new and old elements often leads to cascading failures and rapid burnout of the older coils.
A: Degraded elements, tripped high-limit switches, or overly compacted sauna rocks are the primary culprits for extended heat-up times.
A: Thermal shock from pouring cold water directly on exposed metal causes severe stress. Continuous thermal cycling also leads to natural metal fatigue over time.
A: Use a multimeter to check for continuity and proper resistance levels. Always perform these tests with the power completely disconnected at the main breaker.
A: If the unit is over 10 years old or requires multiple new elements and contactors, investing in a new, efficient model is generally more cost-effective long-term.


